


So… I have a new obsession. This obsession stems from many factors but mainly moving to the country, my mommy tribe disbanding and ditching me for Texas, and buying an old house with tons of scrap wood lying around. I have been admiring the cute porch signs that seem to be popping up everywhere and decided to give it a try.
Best part: It is super simple. 2nd best part: It is super cheap. It cost me less than $15 to make this one. Granted I already had the wood but even if you had to purchase it this would still qualify as pretty cheap.
Not to mention it is a super cute way to decorate your porch for ANY holiday. I love that the options are limitless and you can make it extremely simple or crazy busy depending on how much time and effort you want to put into it.


Here is a list of supplies you will need:
- Wood
- Sanding paper or DA sander
- Primer
- Spray paint
- Stencils
- Mod podge
- Paint brush
- Glitter (of course).
Here are the steps I took to create my Valentines door decor…
Before you begin the steps decide what you want your wood to display. Mine are usually a word associated with the holiday or you could just make a porch welcome sign. For this tutorial since it is for Valentines Day I chose to display, ‘Be Mine.’
1. You need a piece of wood
Like I mentioned before options are limitless – you can pick whatever size of wood that would fit your porch best. For my porch I chose a scrap piece of wood from my husband’s pile that was a 2×6. If you do not have a huge pile of scrap wood you can go to your local hardware store to find the right size for your porch.

2. Sand your wood
Luckily, my husband has a DA sander but if you do not have one you can totally just buy some sanding paper and get busy. It does not need to be perfect since you will prime the wood. Just get the surface side you have chosen for the front as smooth as possible. After sanding I like to wipe the wood down with a tack rag (which you can find at any hardware store) to clean it really well. Or, you can just clean it off however you choose.
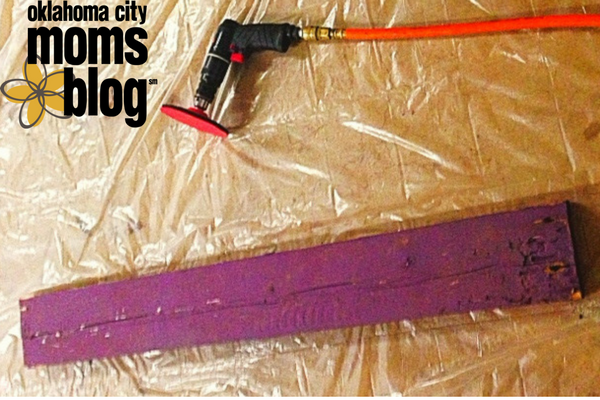
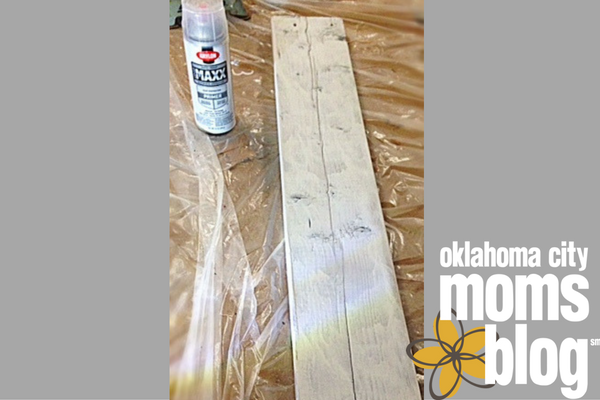
3. Prime Time
I am a big fan of priming, and when your pile of scrap wood is almost all purple for some unknown reason one will learn to love priming. I sprayed all one side, waited 2 hours and then sprayed the other side. Let it dry overnight! I used Krylon Maxx Ultimate Coverage Primer, but any spray paint primer will do.
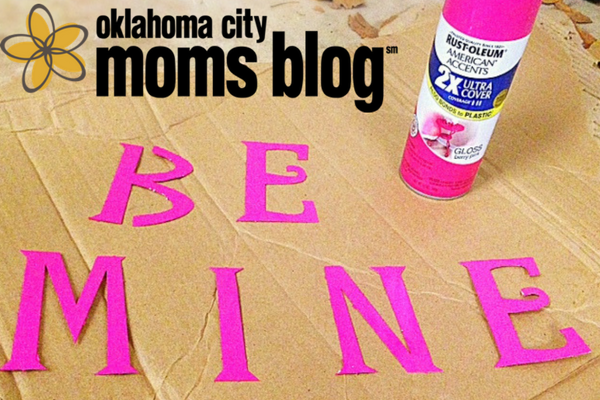
4. Paint your stencils
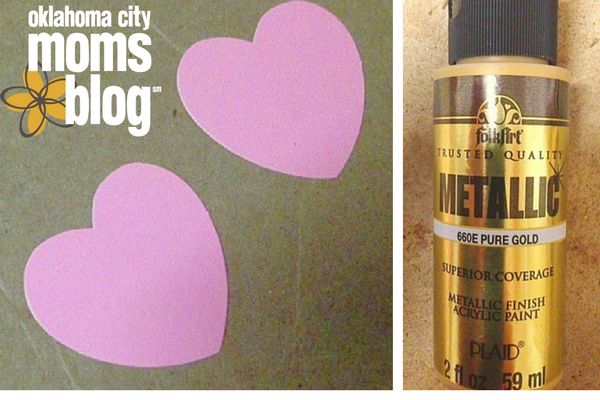
After I prime the wood I usually choose what word or words I want displayed and then I spray paint the stencils. My 1st few signs I made I would draw the stencil out on the wood and then paint it, but I have found just buying a cheap pack of stencils in whatever font I want and painting and then applying it is so much easier for me. I am a terrible tracer and I hate bending over to do it, so this makes it a wee bit easier. If you would rather draw or trace your words that’s completely fine as well – to each his own! I also had some heart stencils that came with my pack so I painted them as well.
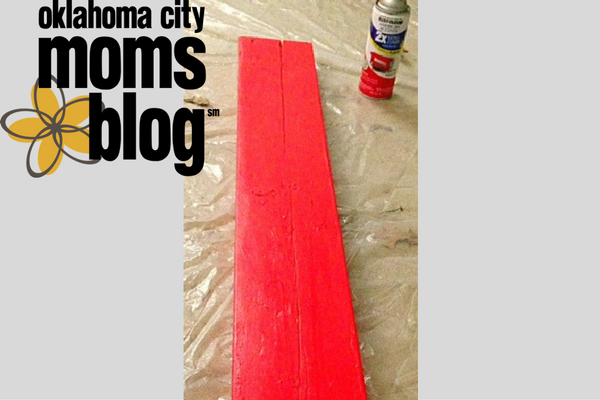
5. Paint your piece of wood
After letting the primer dry for 24 hours then it is ready for whatever color you have chosen for your main color. I decided to go with Rust-oleum 2X Cover in Satin Poppy Red. I spray painted one side, waited a few hours and continued on the other side. Once dry I sprayed the side I planned on displaying 1 more time. I let mine dry overnight but you can judge when you think its dry enough to craft on.
6. Crafting Time
This is my favorite. I am a HUGE fan of Mod Podge and it has forever changed my life. It really does make everything better. I lay my letters out on the wood until I have them how I want it displayed and then I simply mod podge the letters & hearts to the wood. I let those get good and dry, usually a couple of hours and then I re-apply the mod podge on top of the stencils for some glitter. I chose to fill in my heart stencils and then I did a polka dot design on the letters. Sky is the limit and you can do whatever suits your inner designer best.
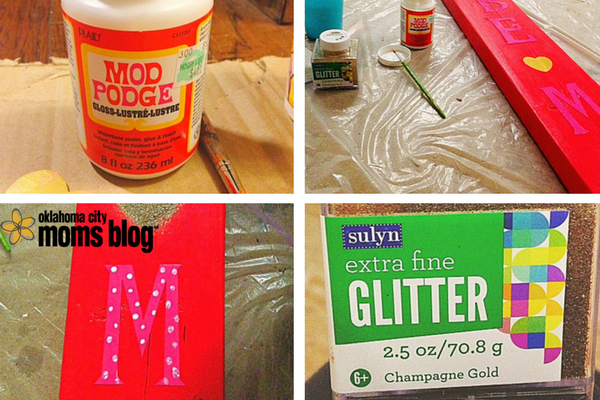
7. Let it dry
I usually leave mine laying flat with the glitter for a few hours and then you just lift it up to allow the excess glitter to shake off. Boom! You have an awesome, cheap, home-made, porch sign.
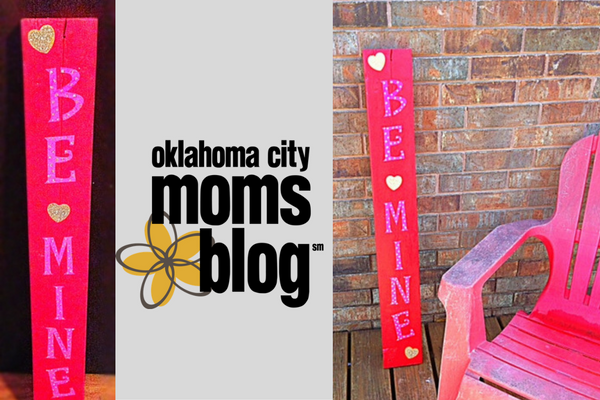
See why I’m obsessed? So easy. So cheap. And very Valentiney. Hope you all have a great Valentine’s day and I hope you enjoy this craft!


