


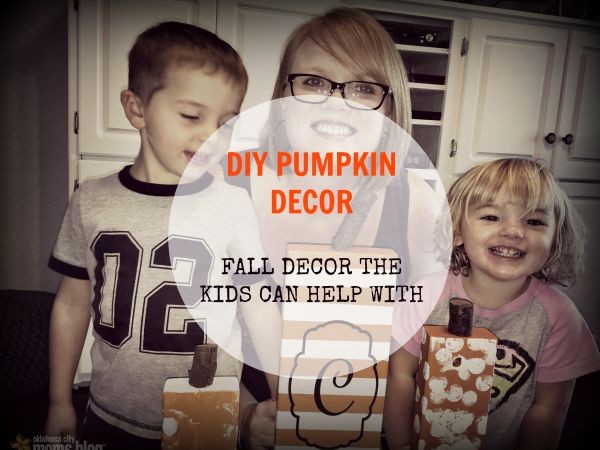
Fall is my favorite!
Seriously. I barely made it to September 1st before I got all my Fall décor out and updated my mantel. Okay…maybe it was a day or two before September 1st….I couldn’t contain myself! I know it wasn’t technically Fall at that point but I like to have my Fall decorations out as long as possible.


My kids get really excited about the pumpkins this time of year and immediately started asking when we’ll get to go to the pumpkin patch. Their excitement about the pumpkins was so infectious that I decided to have them help me with some pumpkin decorations.
For this project you will need:
- 3 pieces of wood (any size according to your own preference)
- Sandpaper
- Primer
- Paint
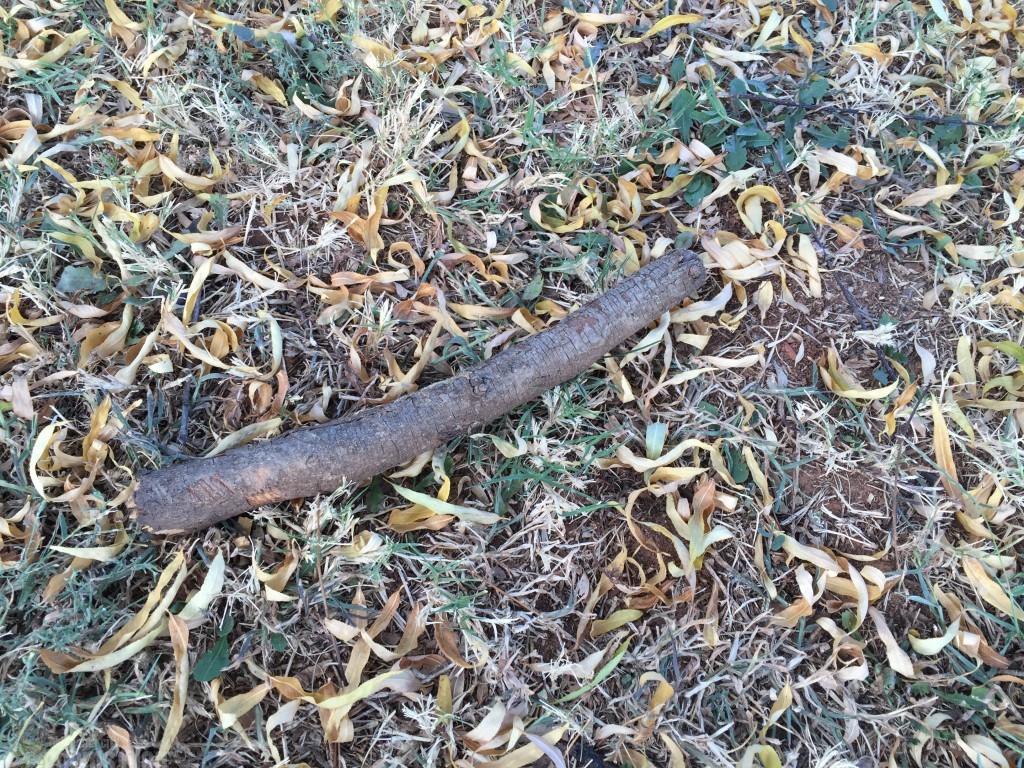
- A branch or stick from your yard
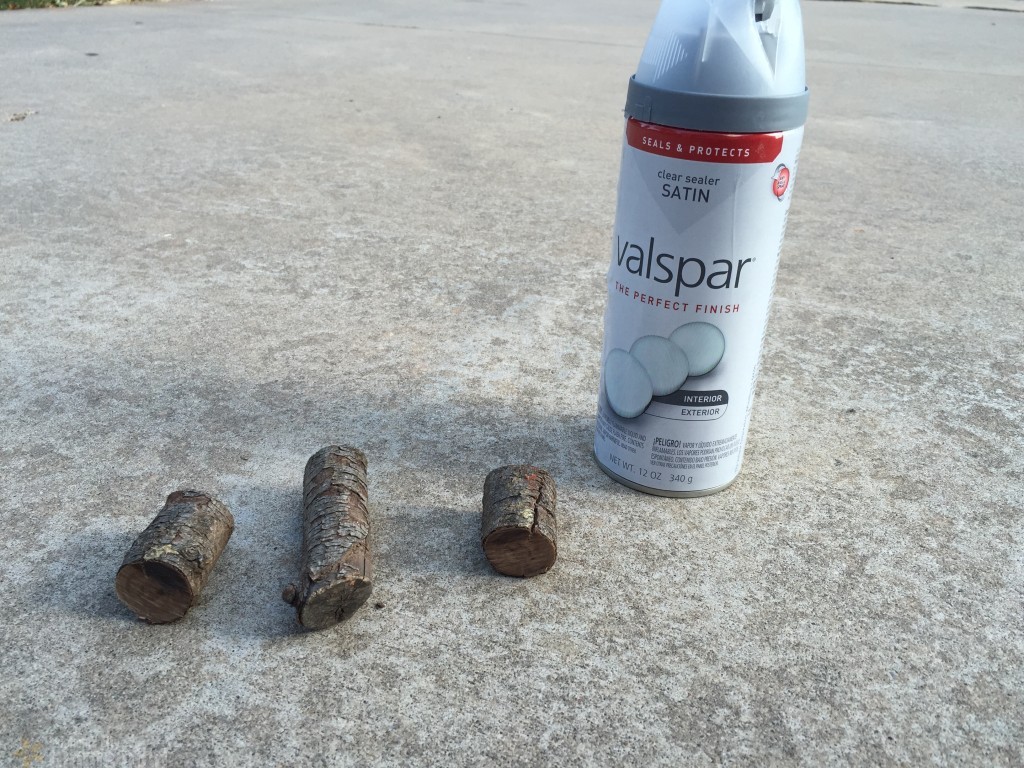
- Clear spray sealer
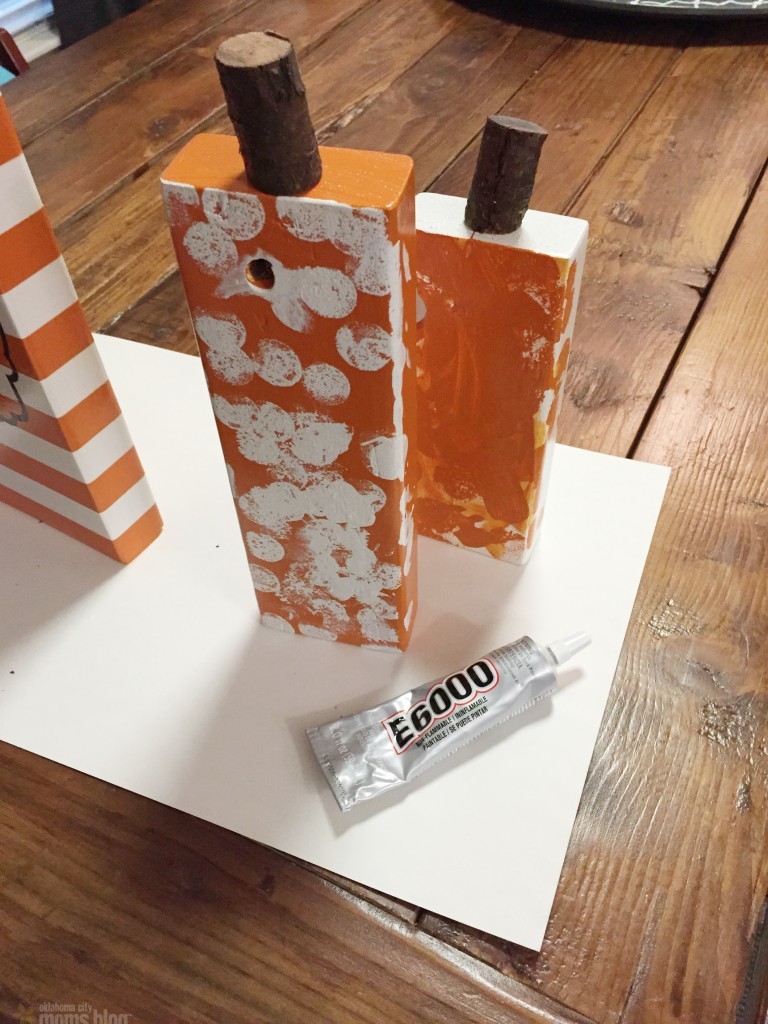
- E6000 glue
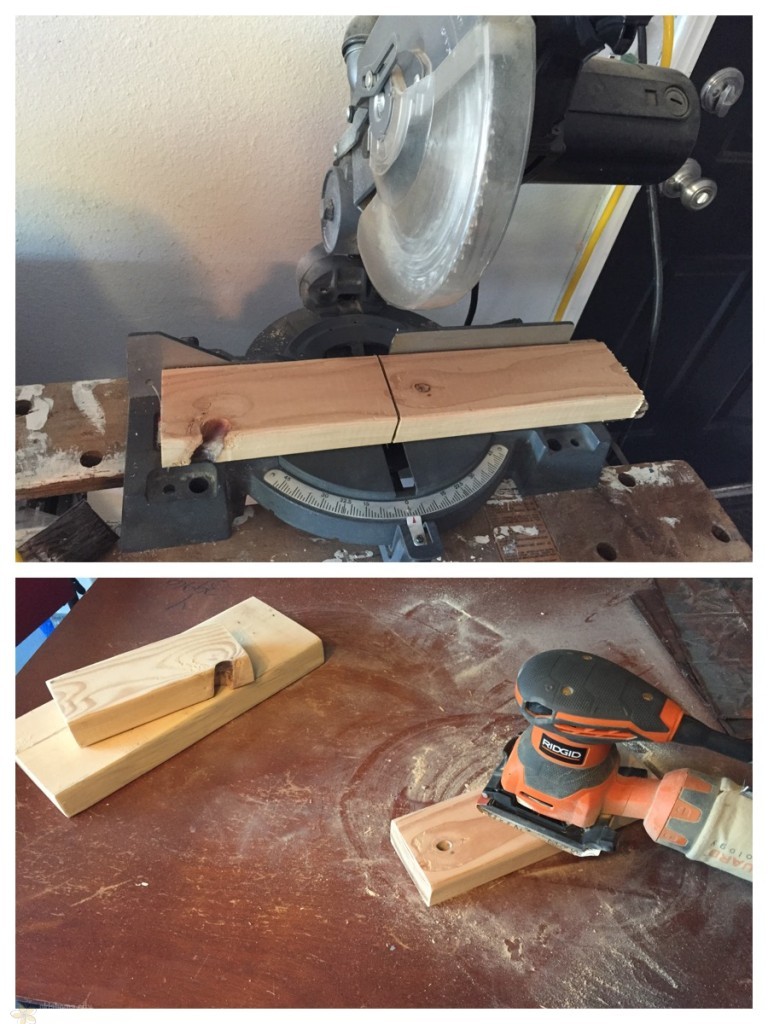
I raided my wood scrap pile in my garage for this project so I ended up using a 2×6 cut of pine and a 2×4 cut of pine. The 2×6 piece I used was 14 inches tall and I liked it that size. The 2×4 piece was too long so I cut it with my chop saw and ended up with one at 10.5 inches tall and the other at 8 inches tall.
If you don’t have a wood scrap pile like me, you’ll need to head to Home Depot, Lowe’s or any local home improvement store. I think that a 4×4 post cut to varying lengths would be really cute for this project. You can have your wood cut to size at the store.
Once I had my wood pieces cut to size I sanded all sides of each piece. I used an electric sander for this step but a piece of sandpaper would work just as well. I didn’t spend too much time on this step but just wanted to make sure that nobody would get splinters while working on this project.
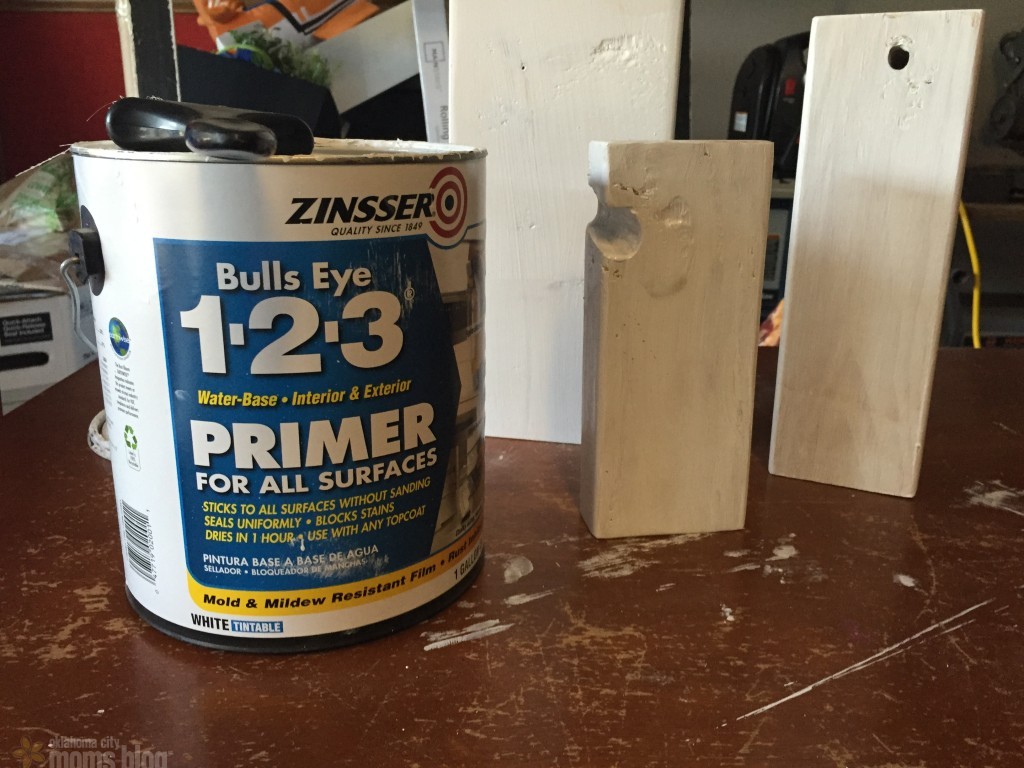
After sanding, it’s a good idea to brush on a light coat of primer. I didn’t spend very much time on this step either. This part doesn’t have to be pretty.
Did I mention that I did the cutting, sanding & priming all during my kids naptime? Those steps didn’t take long at all and were easy to accomplish while the kids were asleep.
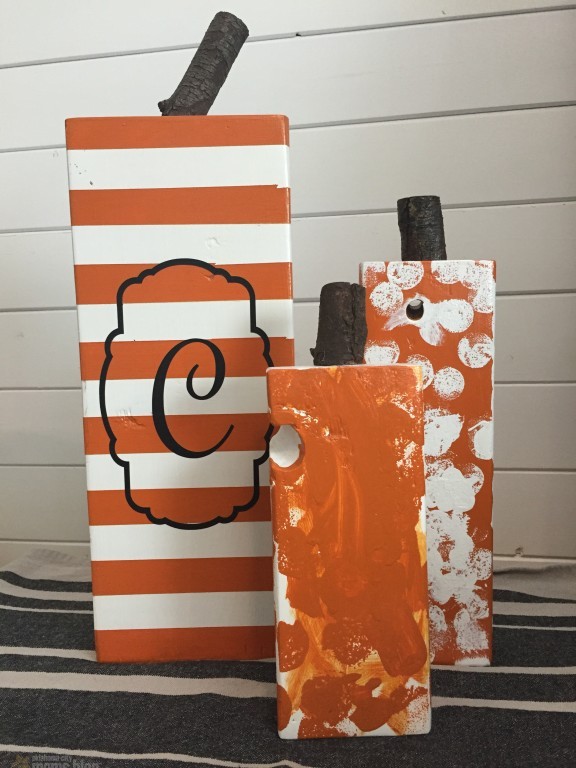
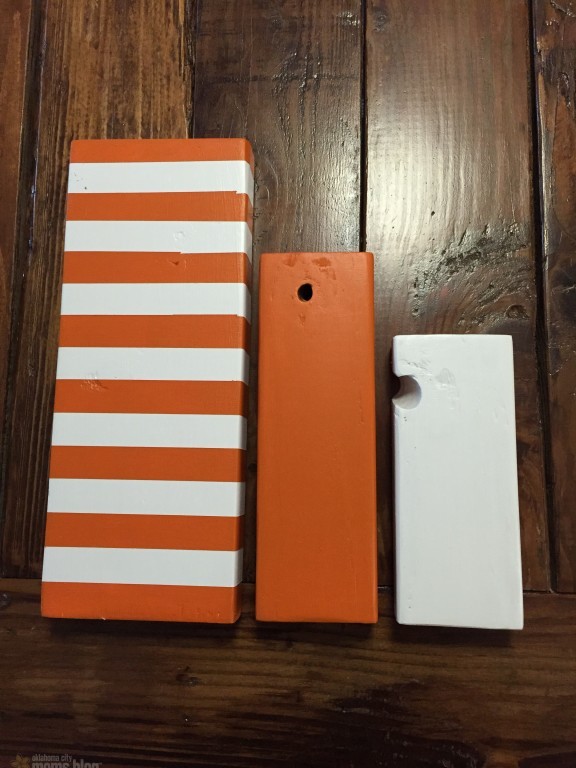
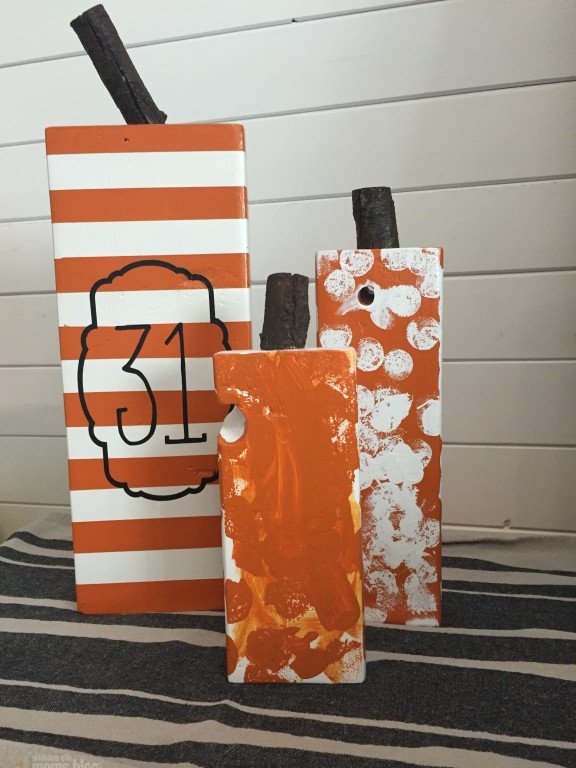
Once the primer was dry I decided to paint two of my pieces white and the third one I painted orange. The orange that I used is called Caramel Cream by Valspar. That’s a weird name for orange if you ask me but it’s a great color for a pumpkin. For the big piece I painted orange stripes on top of the white base coat. That one was for me to decorate later.
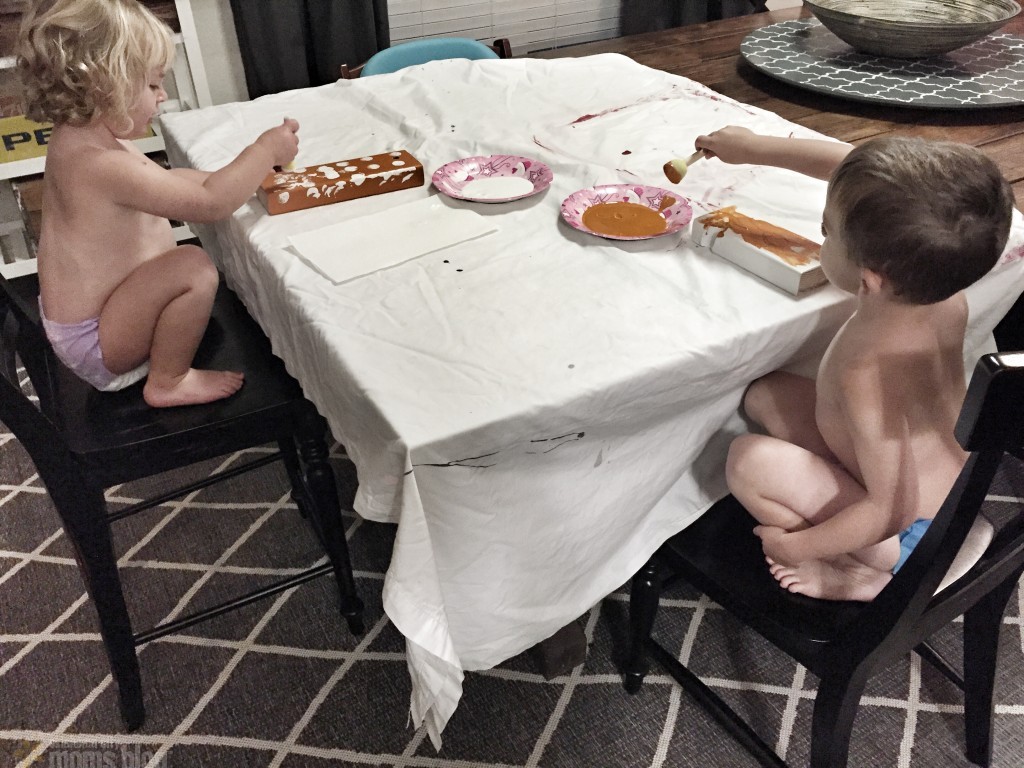
After the base colors were painted on I got my kids involved. My kids are only 2 & 3 years old so I wanted to get a lot of prep work done before they started helping me. If you have older kids they could help with the sanding, priming & painting the base coats.
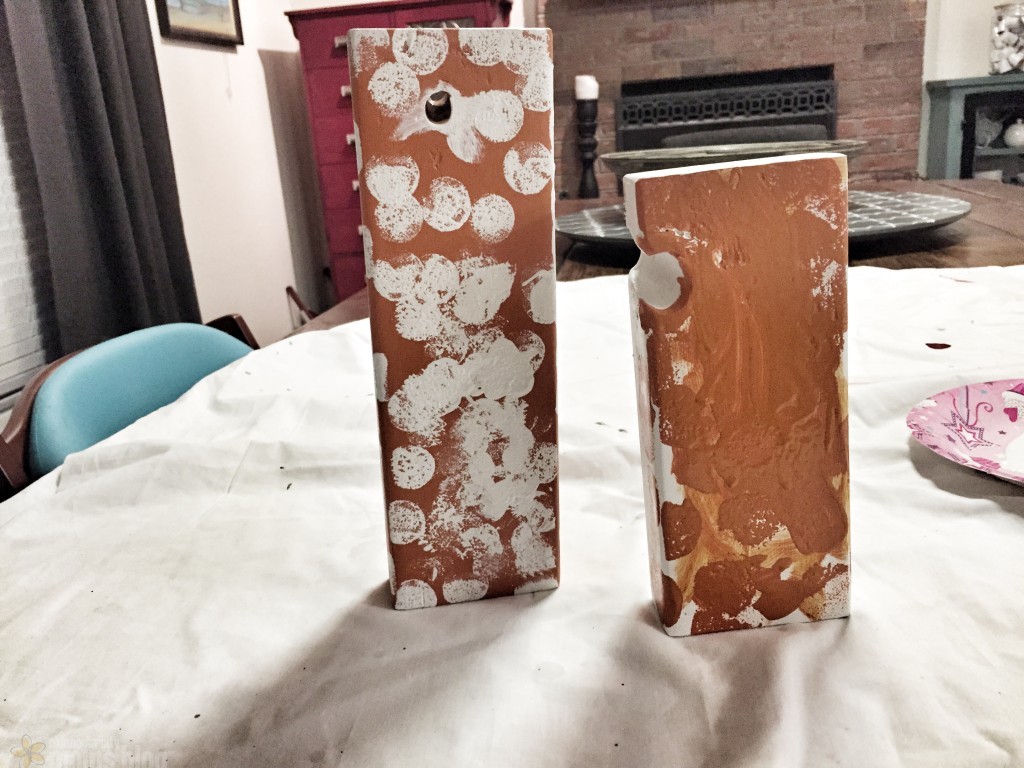
I stripped by kids down to their diapers, put a big sheet over the table and laid out the wood and two paper plates for paint. I gave both of my kids round foam pouncer brushes and showed them how to use the pouncer and paint to make polka dots on their pumpkins. My daughter liked that idea and followed my instructions but my son looked and me and said, “That’s not how you paint! This how you paint…” and then proceeded to make big brush strokes all over the pumpkin.
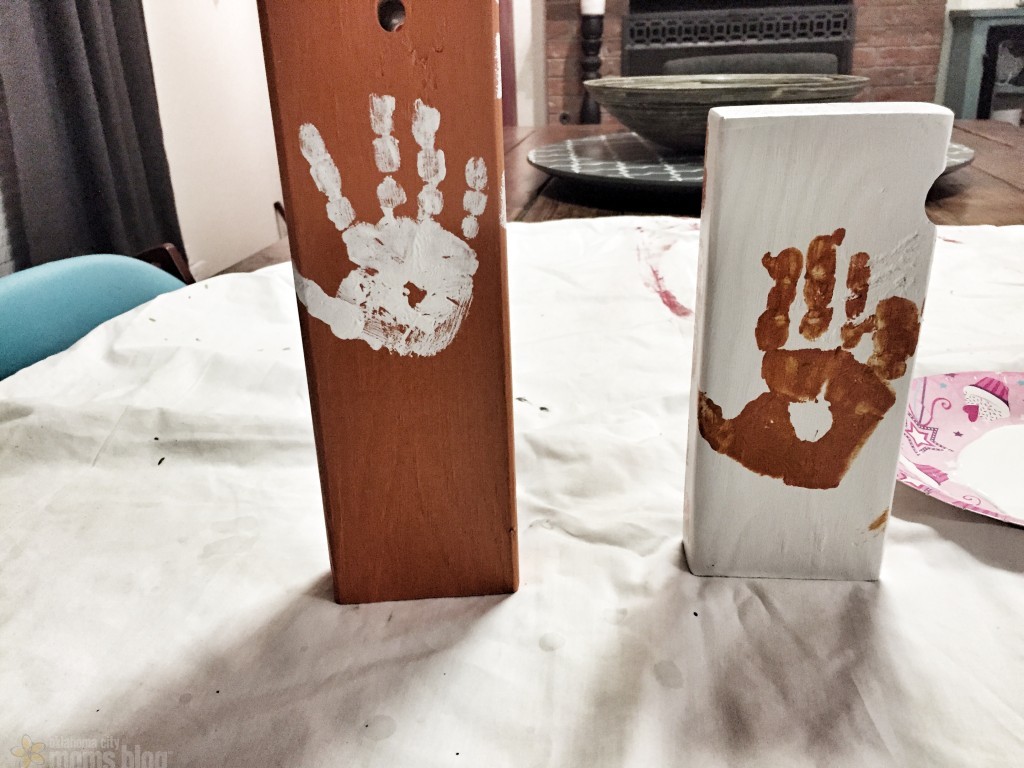
Obviously he had a different idea about how his pumpkin should be painted. Ha! In my excitement over the pumpkins I forgot about the cardinal rule for getting my son on board with something. Make it his idea! If I would have made him think the polka dots were his idea he would have been all over it. That’s okay though…the project turned out great and I love that it has my kids touch. I even decided to have my kids put their hand print on the back of their pumpkins so I would always remember who decorated them.
During nap time the next day, I decorated the biggest pumpkin myself. I decided to paint my last initial in black. I have a thing for having decorations with “C” all over my house. On the other side I painted a “31” which is for October 31st – Halloween (I had to explain that to my mom so I thought I’d throw that tidbit in there just in case it’s not obvious). If I want to have a Halloween display then I can show the “31” side, but if I just want a general Fall display that’ll work past Halloween I can use the “C” side.
The last thing I did was search my yard for a good size branch to use as the pumpkin stems. I used my chop saw to cut the branch down into three pieces. Then I sprayed a few coats of clear sealer on the branch pieces.
Once that was dry I used my E6000 glue to adhere the stems to the top of each pumpkin and let it dry overnight. The next day, voila, I had three cute pumpkins to display in my home!
This project turned out so cute and my kids had a blast painting their pumpkins! Plus they love seeing their work on display at our house. You could have your kids paint faces on their pumpkins if you want to take this a step further. This would even make a great gift for grandparents!
Have fun with it! Happy crafting and Happy Fall!


[…] DIY Pumpkin Decor […]
[…] DIY Pumpkin Decor […]