


As is true with most motherhood-induced discoveries, I hadn’t put much thought into baby food before my son started eating solid foods. I hadn’t looked for baby food in the aisles of Target, and I certainly hadn’t considered how much a single serving of pureed veggies cost. So when it was time to break out the carrots and green beans, I began to take note. That’s when I realized that making my own baby food could lead to three things I like – 1) ease 2) saving money and 3) healthier alternatives.
Becoming the Betty Crocker of baby food seemed easy enough, but I really had no idea what I was doing when I started out. If you’re in the same boat or are considering ditching the store-bought stuff, here’s an easy and quick guide to making you own baby food.


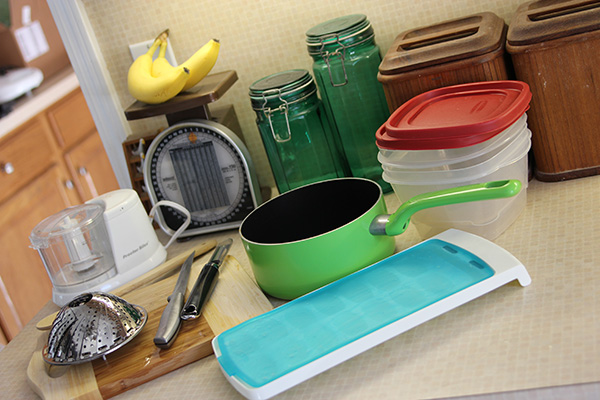
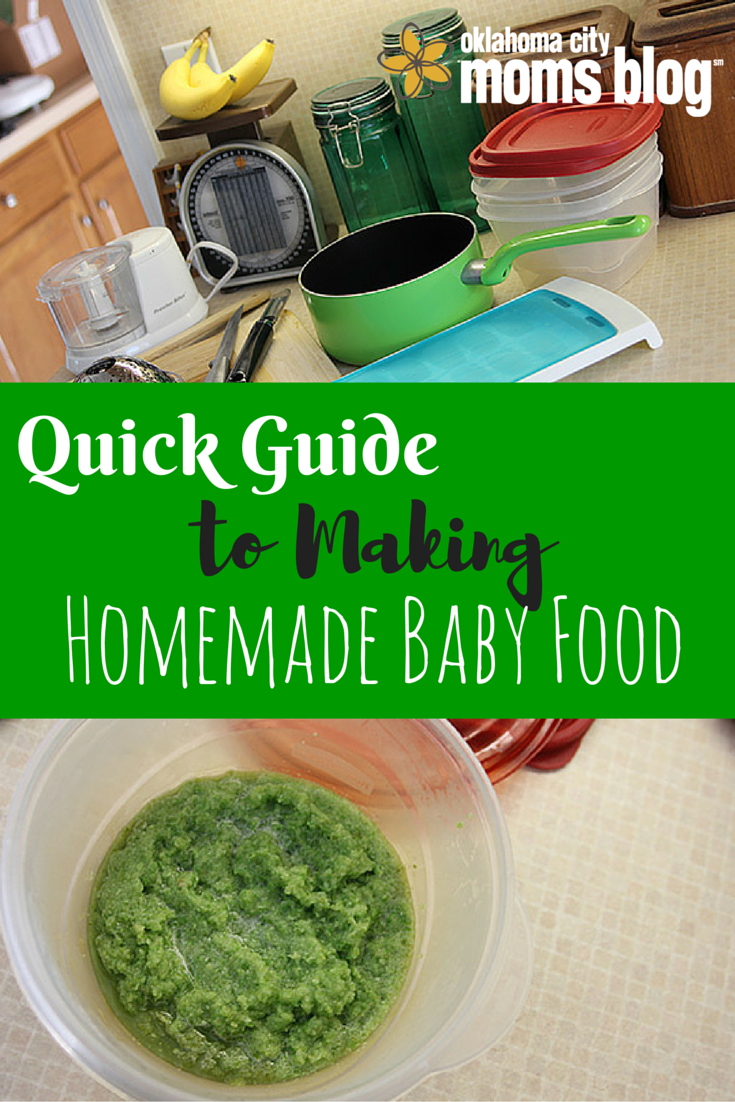
You’ll need a few things to get started, including:
- cutting board
- knife
- vegetable peeler (for carrots and potatoes)
- steamer
- cooking pot
- food processor
- ice cube tray for freezing food
- tupperware or freezer bags for storing frozen food
Bananas
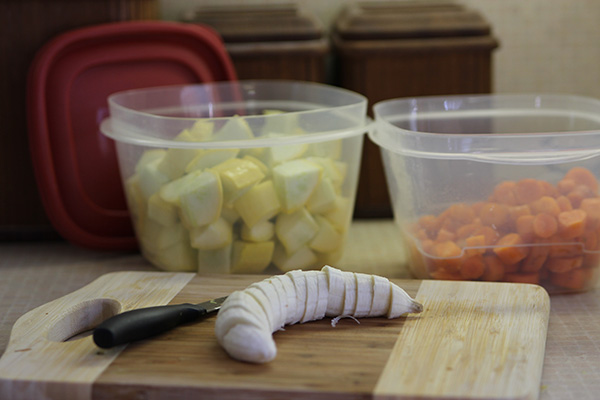
In my opinion, bananas are the easiest thing to make. If you’re just starting out or trying to decide if this whole thing is for you, I recommend starting with this fruit. You don’t have to cook it, steam it, boil it… nothing. Simply peel the banana and cut it into slices.
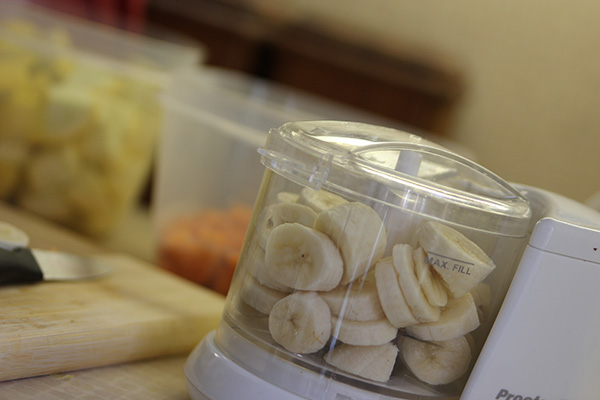
Then, place the banana pieces in a food processor. You can buy special baby food processors from various brands and for various prices. I have a tiny little processor that I – no joke – won at Dave and Buster’s… so, obviously, anything will do.
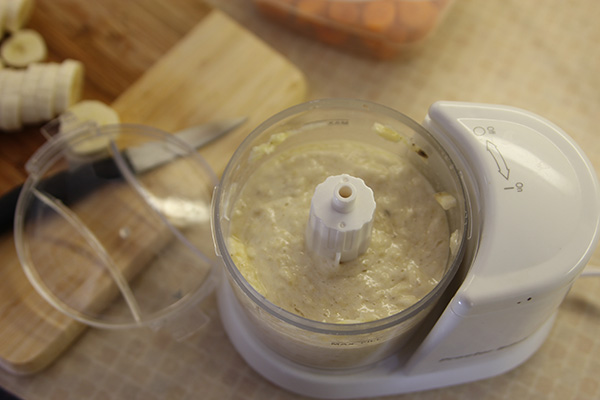
Puree the bananas until they are a smooth consistency. I’ve found that it helps to stir up the mixture as much as possible to ensure no chunks are left behind.
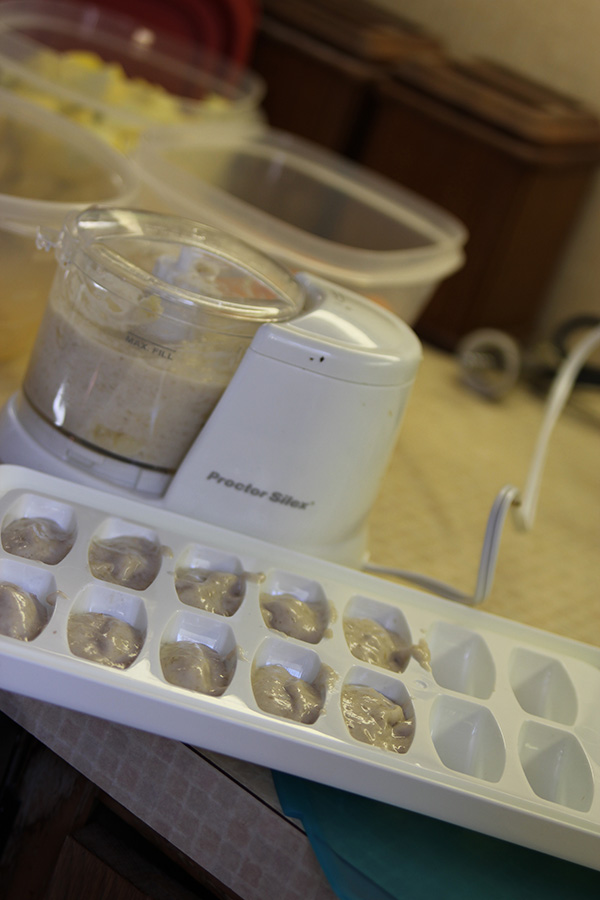
If you plan on freezing your food to save for later, place the pureed bananas in an ice cube tray and stick it in the freezer.
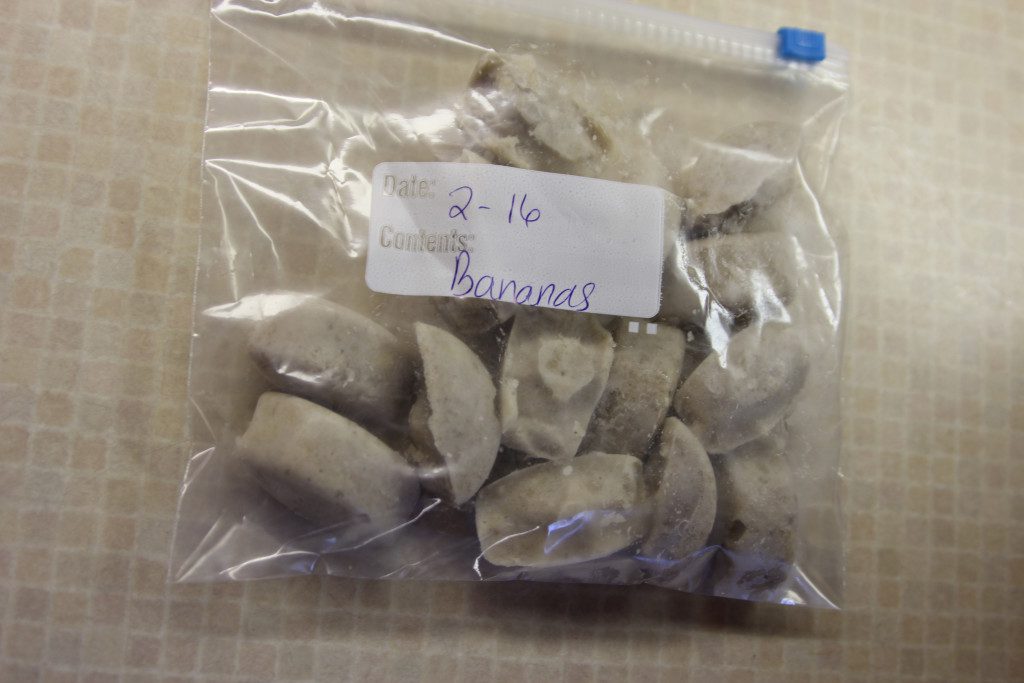
Once the bananas have frozen, pop them out of the tray and store them in a container or freezer bag. I like the bags because you can write on them and they don’t take up as much space. Remember to write the date on your frozen food so you know when to use them.
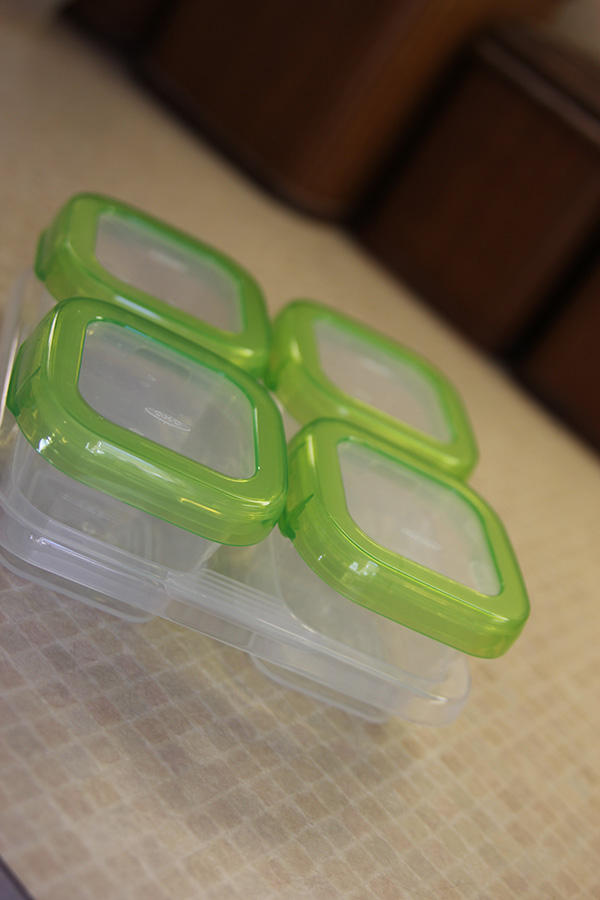
When I feed my son the food I’ve frozen, I like to place them into containers to thaw and/or heat. I use these containers from OXO because they lock tightly, are BPA-free, and look cute. They make the perfect containers for sending to day care or sticking in a diaper bag. I like to put my waterproof labels from Mabel’s Labels on them so there’s no question who they belong to.
Green Beans
Unfortunately, not everything is as easy as bananas. In fact, most baby food items need to be steamed in order to get them to a soft consistency fit for the food processor.
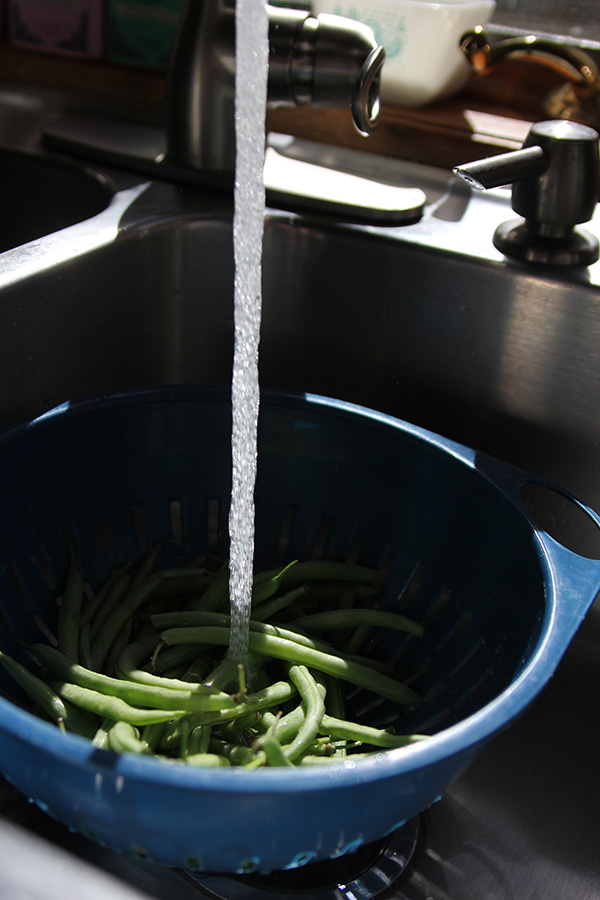
To make green beans, start by washing off the fresh beans.
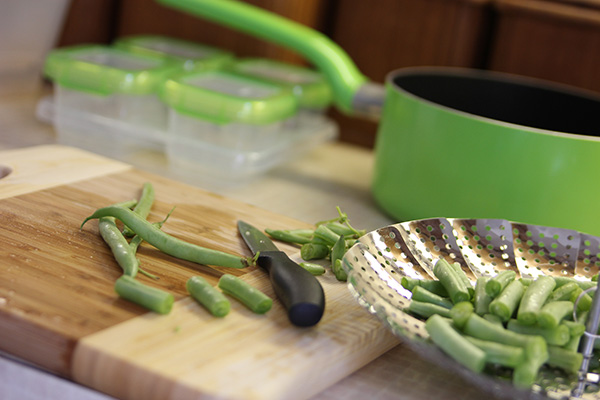
Next, cut the ends off of each bean. You may want to cut the bean in half to make smaller pieces.
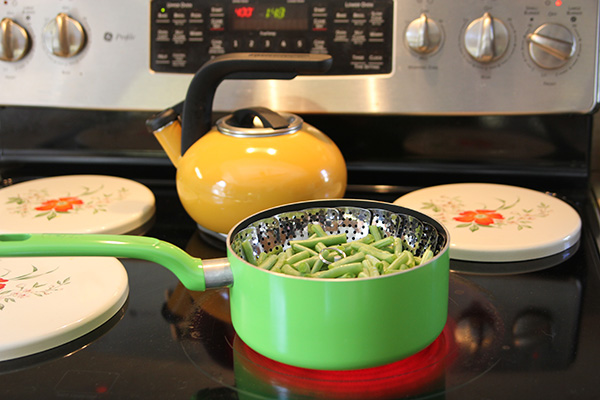
Fill a pot until the water level falls just below your steamer basket. Then place your green beans onto the steamer basket and set the pot to boil.
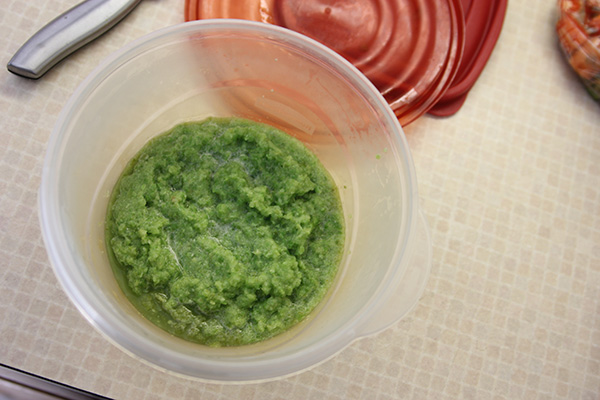
After the beans have steamed, they’ll be soft enough to puree. Follow the same instructions as the banana recipe, but you may want to add water to the green bean mixture for a smoother consistency.
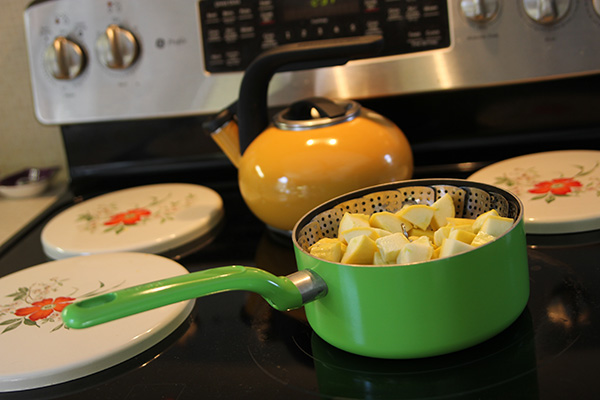
Squash
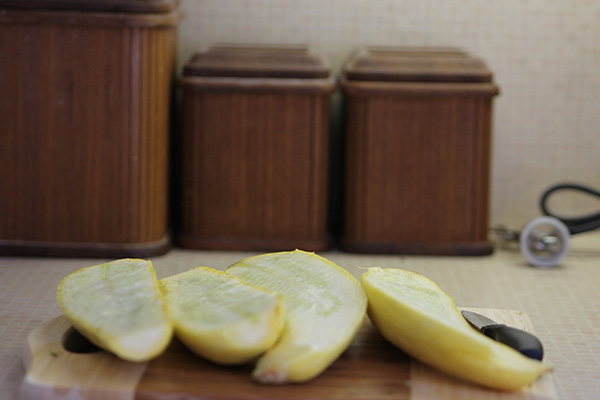
I used zucchini squash, which are simple to make. Cut the squash in half and then cube the squash into small pieces. Steam them, puree them, and you’re done! You won’t have to add water to this mixture because squash has such a high water content to begin with.
I haven’t made acorn/butternut squash yet, but I believe you cut the squash in half and bake them at 400 degrees for around 40 minutes.
Carrots
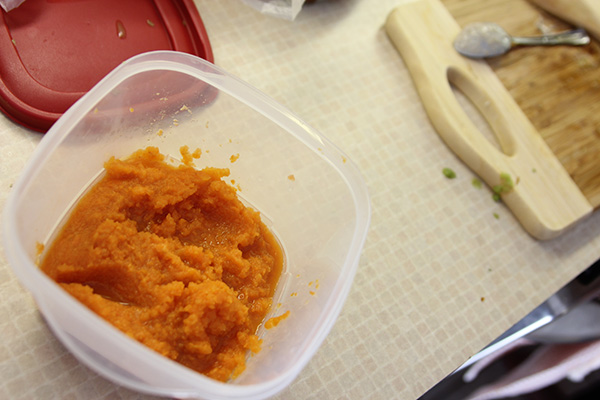
Wash the carrots before peeling them with a vegetable peeler. Cut the carrots into small pieces, steam them until soft, and puree. Like the green beans, you may need to add water to the carrots in order to get a smoother consistency.
Making your own baby food will definitely take some time. You will need patience and the ability to overlook a temporarily messy kitchen, but you will save money and provide your baby with fresh foods without any preservatives. If that sounds like something you want, I encourage you to give it a try!
Do you have any other baby food recipes? Share with me in the comments section below!


I’ve also used breast milk to thin my baby food, and I push mine through a mesh strainer afterwards to get any bites out. I find this helps get a super smooth consistency. Thanks for the tips! We are about to start in some veggies and will try carrots first I think!