


My son is three and has been really getting into Legos lately. I’m sure the Lego Movie is mostly to thank for that but my husband and I have been kind of excited about this new interest. We don’t even mind that he walks around singing, “Everything is Awesome!” at the top of his lungs (I did have to teach him some more of the words so I didn’t have to hear the same phrase sung on repeat).
When it came time to think about what to get him for his birthday, the first thing that popped in my mind was Legos. We have decided that for our kids’ birthdays we’re going to try and stick to giving them one big present. We know that they are likely to get many presents from grandparents and other family and we try (and sometimes fail) to keep our house from being taken over by toys.


After some thought, I decided that I wanted to attempt to make a Lego table for him. He had Legos already and was likely to get more. Plus I had the perfect table sitting in my garage just waiting to be used for a project!
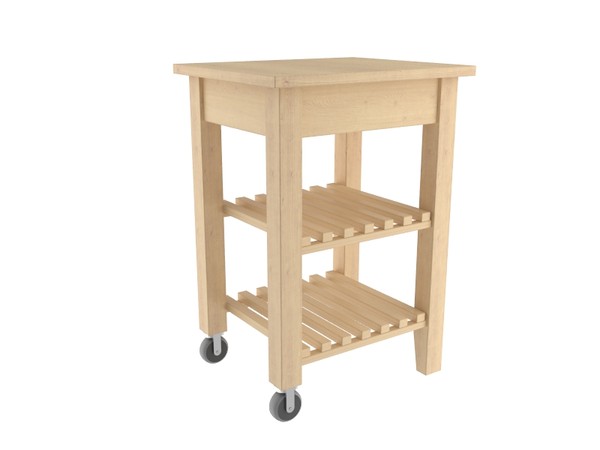
I started out with this kitchen cart from IKEA. We bought this a long time ago and used it for another purpose in our home office for a while. I knew when I bought it that it would be good for a project down the road but didn’t have anything specific in mind at the time.
The biggest part of this project is cutting it down to the right height. I decided I wanted to make mine a little taller than a normal toddler size table because my son is pretty tall for his age and I wanted him to be able to use it for a few years. I also had to decide if I wanted to keep the castors on two of the legs. I ultimately decided to keep the castors so that it would be easy to move. I wasn’t planning for this table to have a permanent place to sit so the idea of being able to move it from room to room or easily push it into a closet to store was appealing.
Once I decided on the general direction I was headed with this table I enlisted the help of my dad. Cutting the legs down is a two-person job…or at least it was for me. I made sure to measure twice (or three or four times) and cut once. I had my dad hold the table steady while I used my circular saw to cut each leg down. You don’t have to use a circular saw…that’s just what I had on hand.
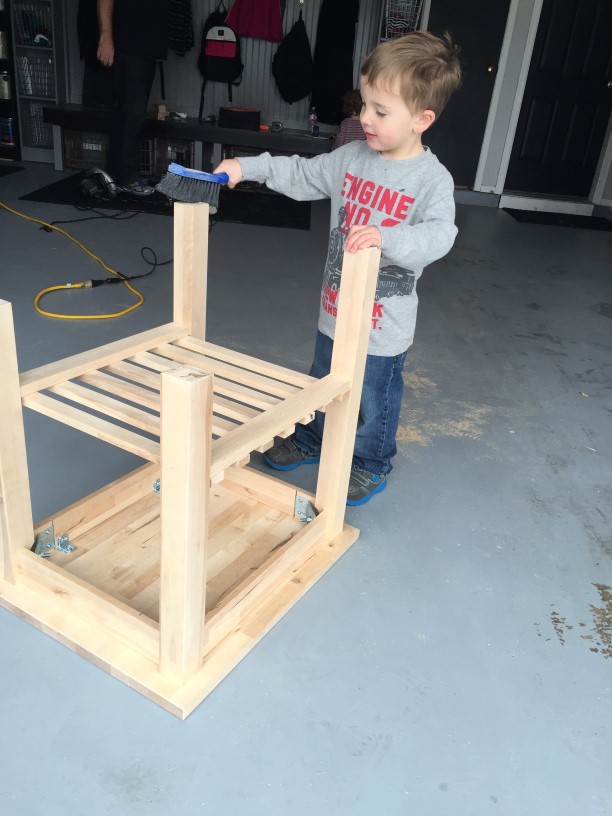 Once all four legs were cut down I re-attached the castors and sanded the entire table. My son even got to help me out with this part! He didn’t know that he was helping with his birthday present.
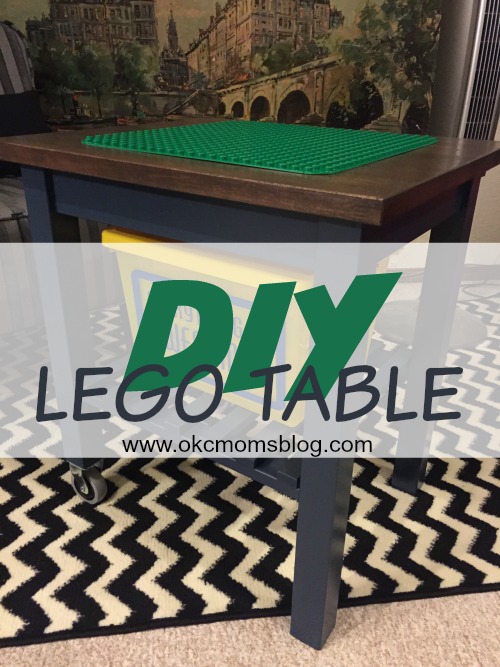
I love the look of furniture with a combination of both paint & stain. So I decided to paint the bottom of the table and stain the top. The shelf on the bottom of the table has slats and I was feeling lazy and didn’t want to paint those so I decided to spray paint them instead. For this reason, I had to choose a paint color that had a matching spray paint. I couldn’t spray paint the whole table because I didn’t want to get paint on the top. I chose a navy blue spray paint and found a paint swatch that matched almost exactly. I bought a sample size of the paint, which was more than enough for this project. The top of the table got stained with a Rustoleum stain in Kona. The whole table was then given three coats of poly. For furniture that gets a lot of use by my kids, I like to use several coats of poly to make it easier to wipe up.
I bought a green Lego plate from Target and went with the Duplo size since my son is only three and doesn’t play with small legos yet. I decided to hot glue the Lego plate to the top of the table. I’m hoping that by doing hot glue instead of something more permanent it’ll be easy to replace with a different size when he gets a little older. So far the hot glue has held really well.
To finish off the project, I bought a yellow storage tub and used my Silhouette Cameo to cut out the words EVERYTHING IS AWESOME in vinyl. This tub fits perfectly on the shelf of the table and stores all his legos!
This project was so much fun to work on. This could easily be re-created using an old coffee table or nightstand…or whatever you may have on hand or spot at a garage sale. If you decide to tackle this project, have fun with it and make a table that works for your child and fits in your home!
><><

My husband Jason and I met at church after we had already graduated from college and started on our own career paths. We were married in 2009 and settled down in Edmond, OK. I am mommy to our son Gavin and daughter Greta. They are crazy toddlers that keep me on my toes all the time! By day, I am an Oil & Gas accountant. By night, I’m a self-proclaimed DIY-er and am constantly changing things at my house. My husband and kids are good sports about this and usually roll with it when I up and change something without warning. I am excited to share some projects with you as well as share ideas and inspiration.


