


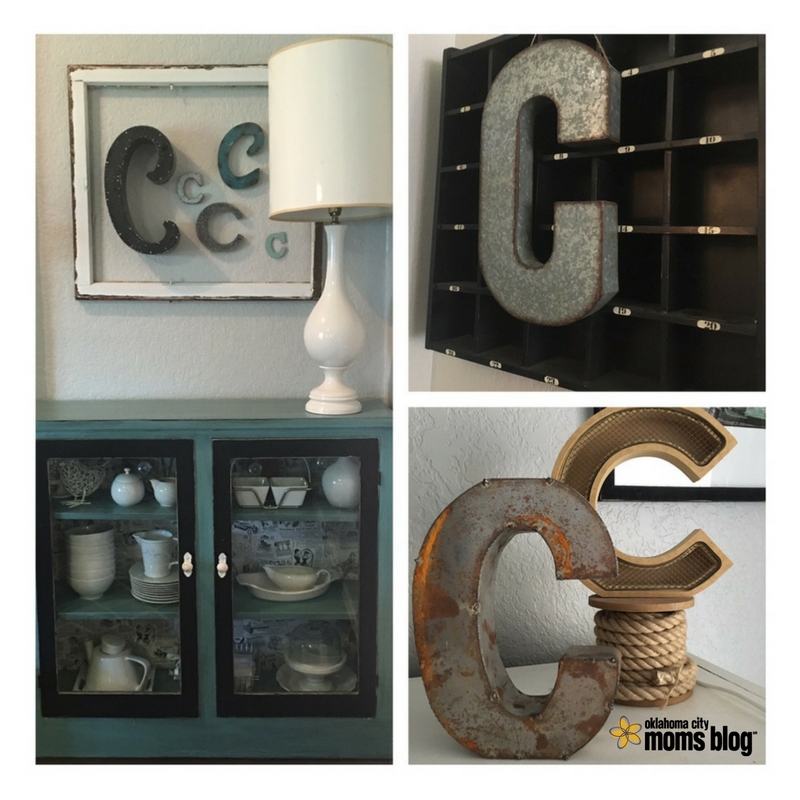
I’m obsessed with initials. My last name starts with C and I have C’s all over my house. It gets a little out of control at times…but I still love it!


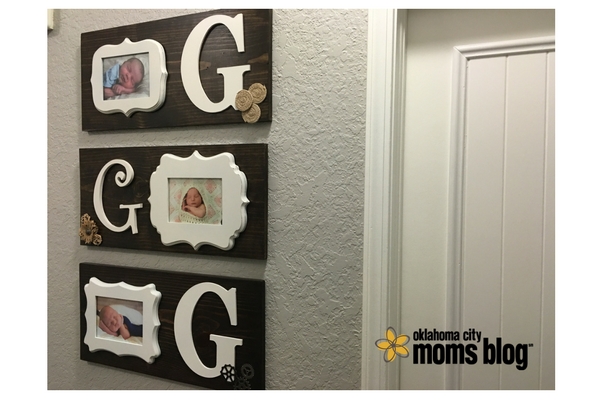
Similarly, I love to use my kids’ first initials when decorating for them. I have three kids now and all three of them have names beginning with the letter G. While on maternity leave with my last kid, I decided that my house needed a 3-G wall. So I set out to do a super cute & super easy DIY.
I’ve seen a few similar projects online so this isn’t an original idea by any means. The one that inspired me was this one. In this Pinterest era there’s so many cute projects to copycat…and this one is a must-do!
For this project you will need:
- 12×24 pine board (I purchased a board from Lowe’s that was 12 inches wide and 8 feet long and had them cut it into two-foot sections at the store)
- Sander (electric sander or plain old sanding paper will work)
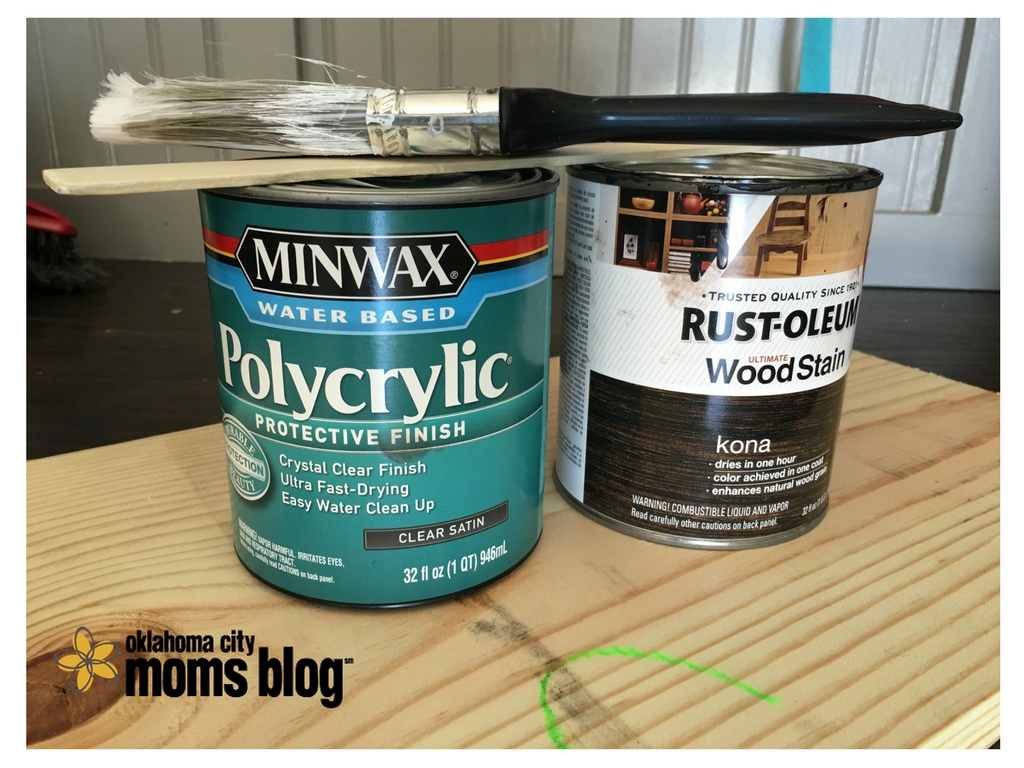
- Stain
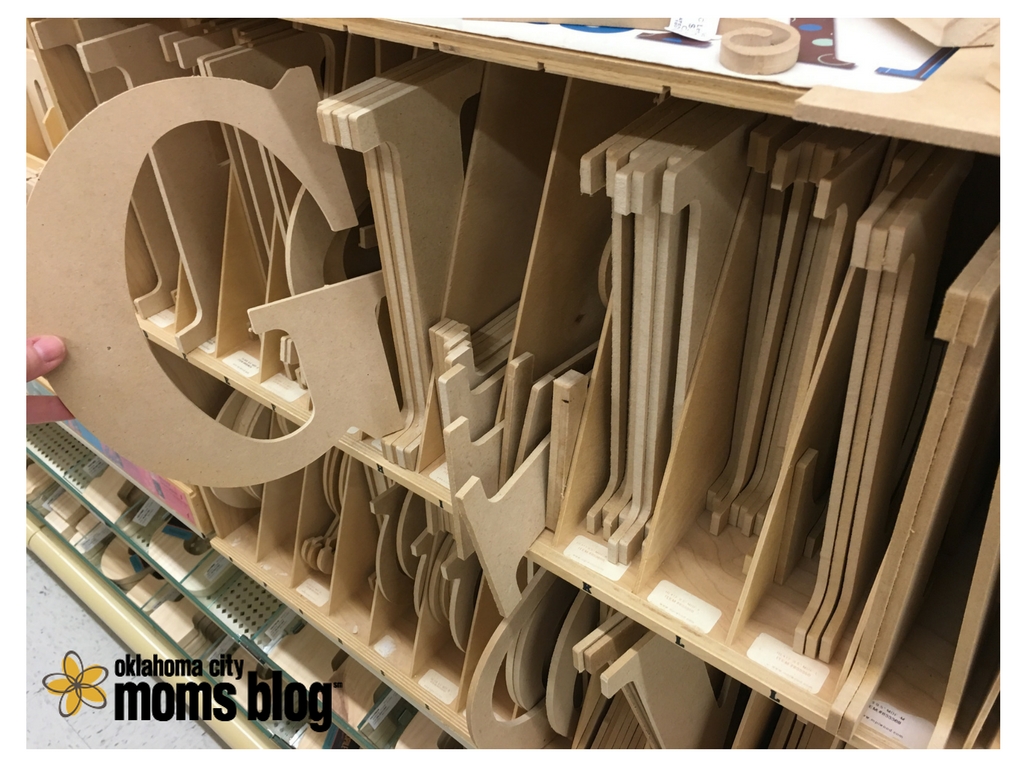
- Wooden letter (I bought mine at Hobby Lobby)
- 5×7 picture frame (Also purchased from Hobby Lobby)
- Spray paint
- E600 Glue
- Screw & screwdriver
- Picture hangers
- Embellishments – optional (I purchased mine from the scrap booking dept at Hobby Lobby)
- 5×7 photo of your choice for the frame
The first step is to sand down the pine boards. You will need one pine board for each initial. For example, I have three kids so I used three boards. Easy peasy!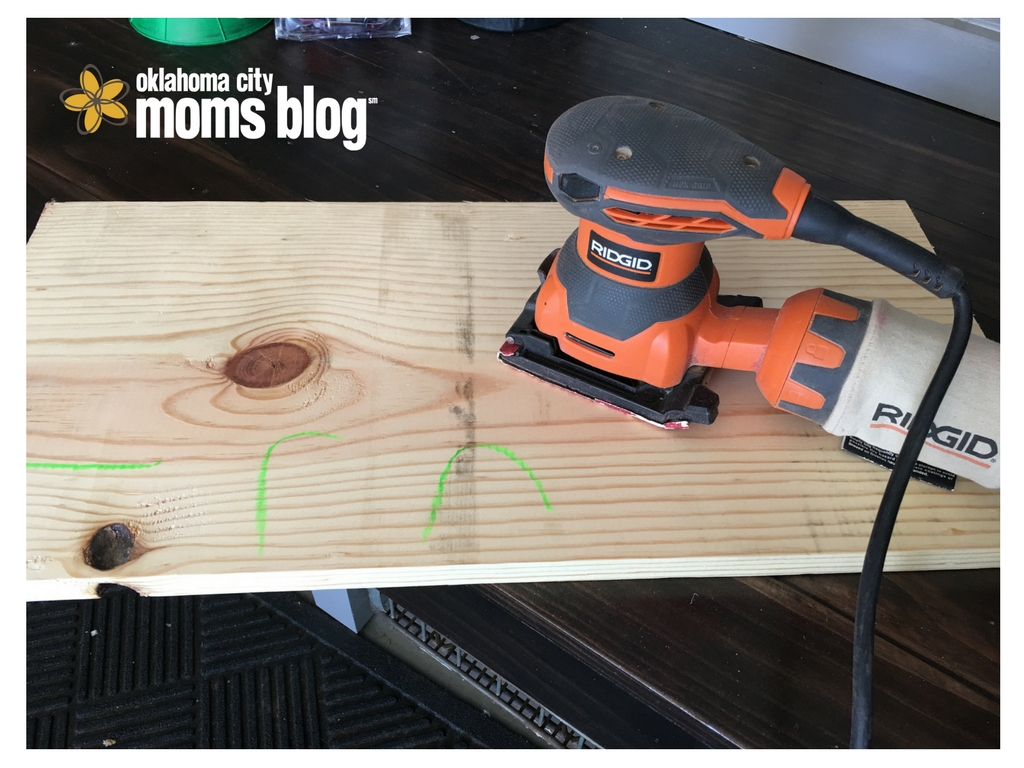
Next, stain your boards. I use a color called Kona for most of my projects because I like the darker wood. However, you can use any color of stain that you desire. If you’d rather paint the wood, then go for it!
After the stain, I applied one quick coat of polycrylic.
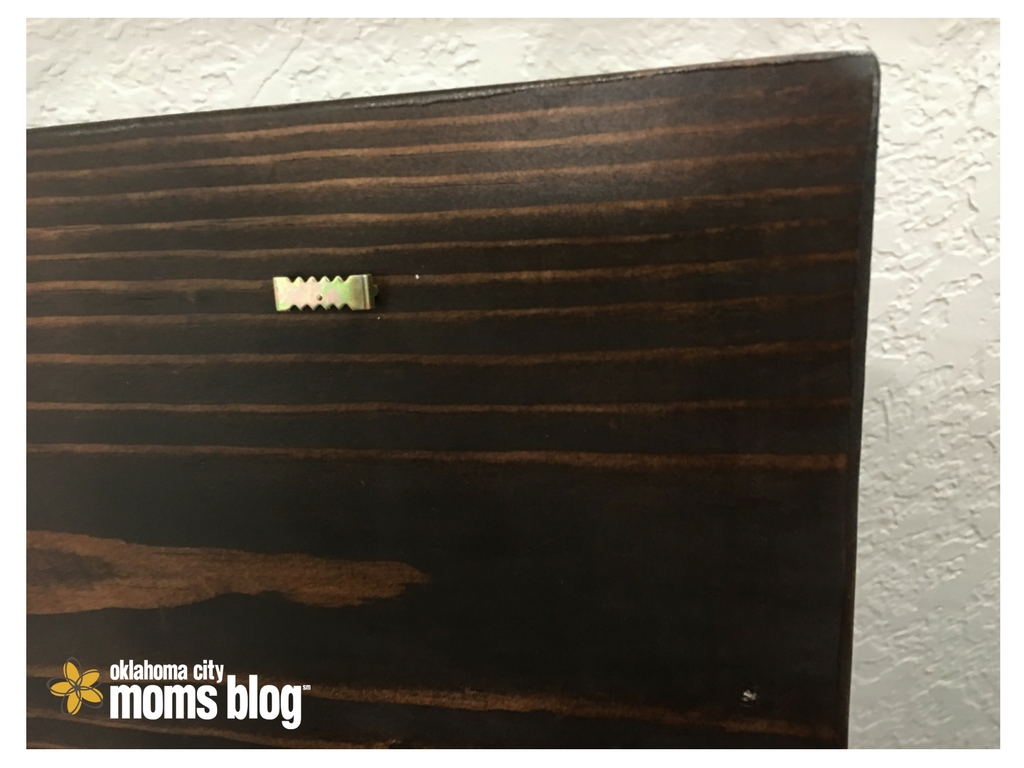
Once your board is dry, decide which side is the front and which is the back. On the back of the board, install your picture hangers with one on each side.
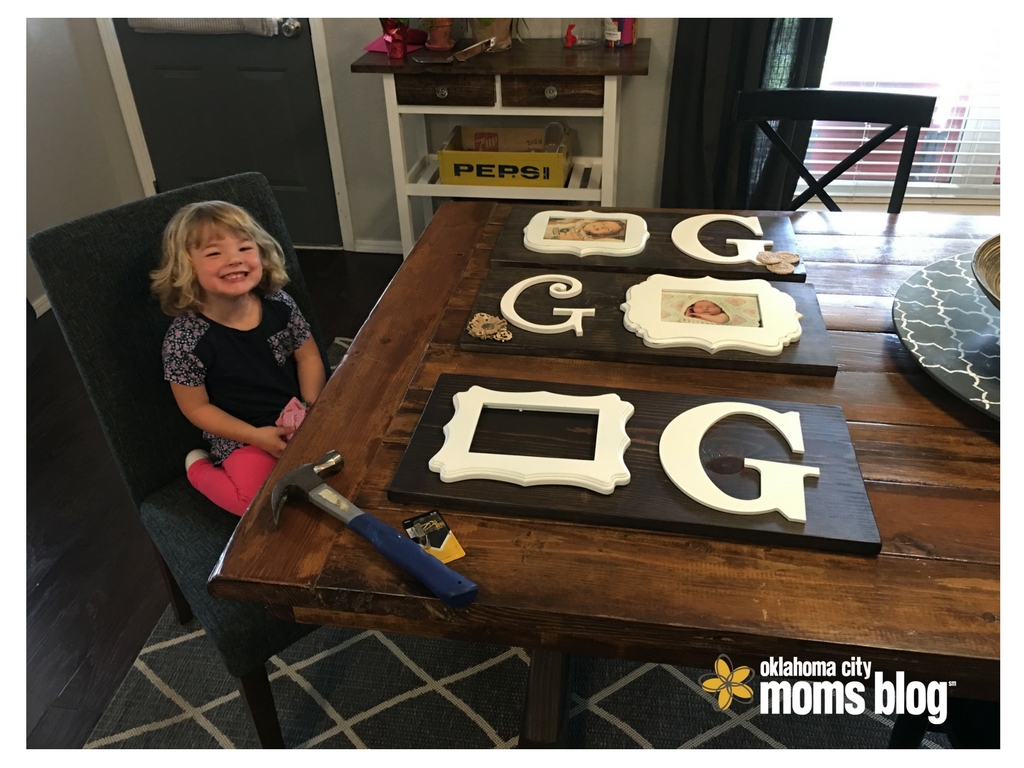
Next, lay out your wooden letters and 5×7 frames to be painted. For the frames, make sure and take them apart and set the glass aside so no paint gets on it. Spray paint the letters and frames a color of your choice. I chose white to keep it simple. It takes a few coats to get good coverage.
After everything is dry. Lay out your letter and frame on top of your wood board. When you get it placed the way you want it, glue the letter to the board using the E6000 glue. I tried using a hot glue gun but that only held for a few days and then the letter popped off. The E6000 glue will hold anything! Get some and keep it on hand at home because it can be used for so many things!
Put the glass back in the frame and inert a picture of your choosing. Once the frame is back together and you’ve decided on the placement for your board, use your screwdriver to drive a screw into the board that the frame can hang from. I thought about gluing the frame directly to the board but then I wouldn’t be able to switch out the picture if I ever wanted to do that later on.
After everything is put together, add the embellishments to your board. I chose to add mine in the bottom corner next the initials and glued them on using the E6000. If you want to leave it plain, this project still looks super cute without the embellishments.
The E6000 glue needs to dry overnight. So leave your project lying on a flat surface overnight. In the morning you can hang your project up on the wall and you’ll be finished!
Now stand back and admire your handiwork!
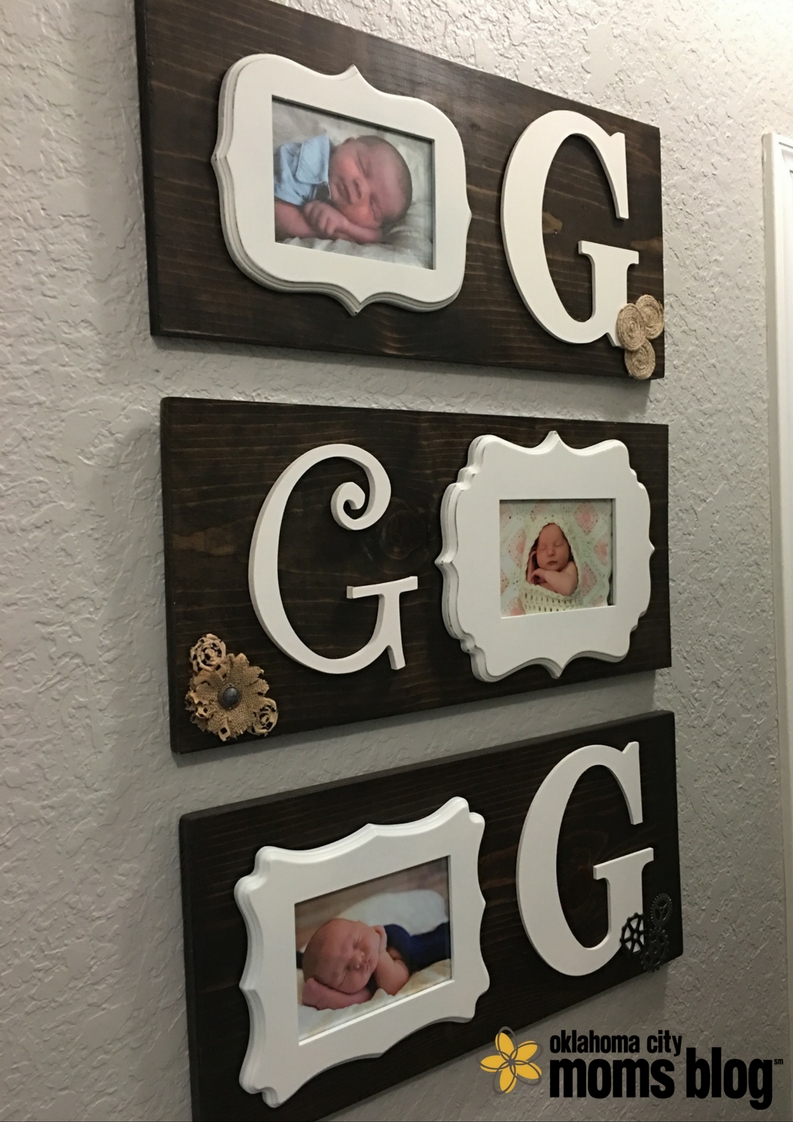
This project will not only add some style to your walls but it’s a fantastic way to display pictures. You can use a first initial for someone specific or make a family one using your last initial.


