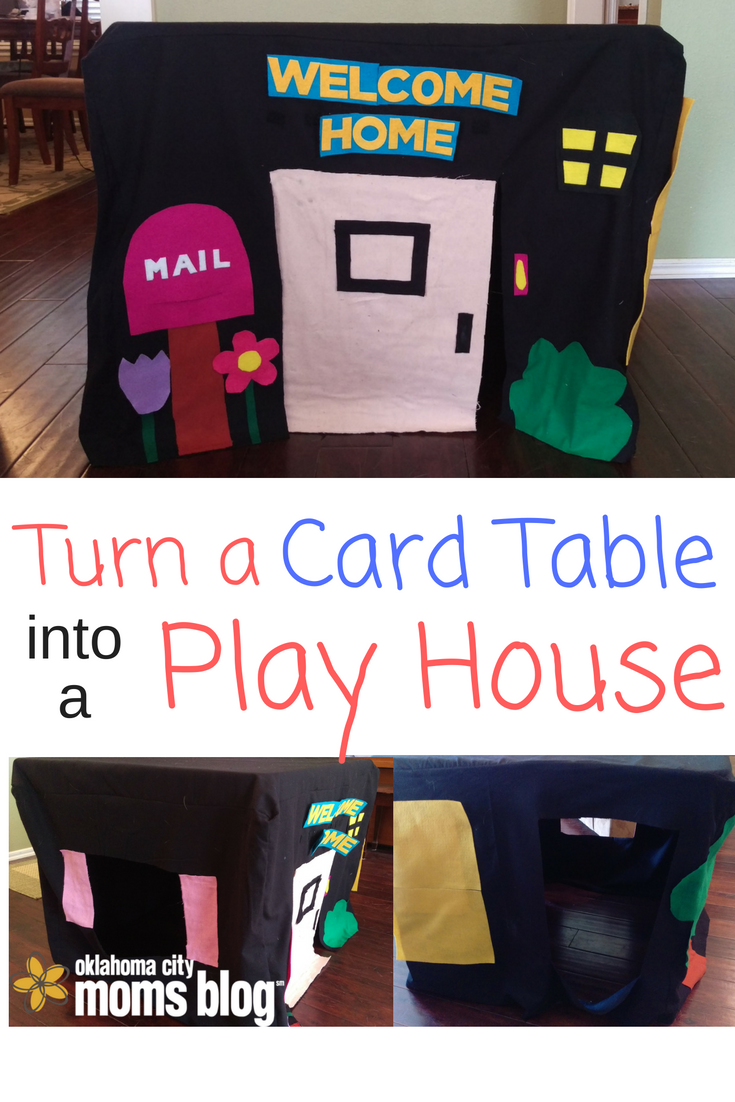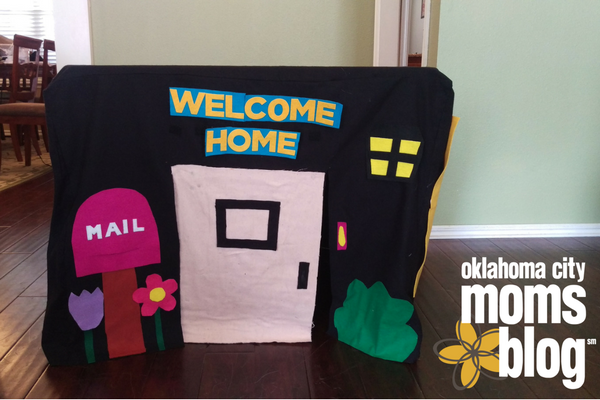
My sister came to me this summer with a great idea. She wanted a play house for her classroom at school where she teaches kindergarten. She also wanted to be able to change it with different themes of the year. So I got to work and came up with our version of this card table playhouse. The beauty of this project is you can literally make it into anything you want (or your kids want). I’ve seen post offices, pet shops, gardens, zoos, camping the possibilities are whatever you can come up with!
Here’s what you need:


- 5 yards of thick fabric- this will give you some extras for decorations
- a variety of colors for decorations
- Velcro
We got some fleece fabric on sale at Hancock fabrics when they were going out of business. It was such a steal!. The color of your playhouse is up to you. Black fabric was what Hancock had the most of so we went with it. Felt fabric would work great but can be expensive. Basically pick a thick fabric that isn’t see through (so not cotton blends) but in reality your kids would never know the difference.
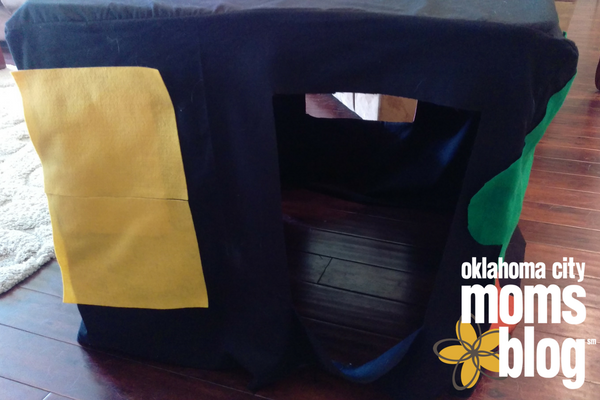
Next cut four panels for the side at 35 inches long by 28 inches high and one panel for the roof at 35 x 35 inches (Note: I made main slightly larger to fit a different table in my sister’s classroom but I have adjusted these measurements for a normal card table.) Cutting the panels at the length will also give you half an inch to sew your panels together.
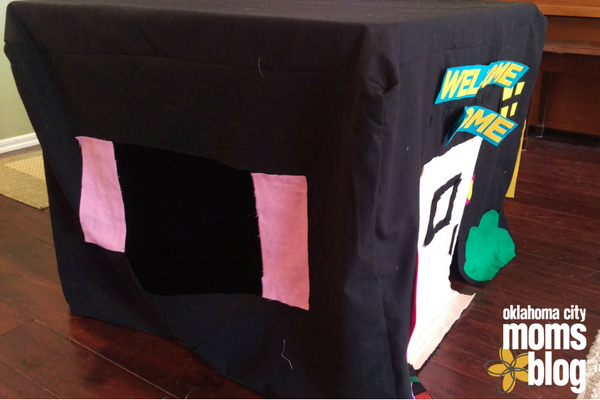
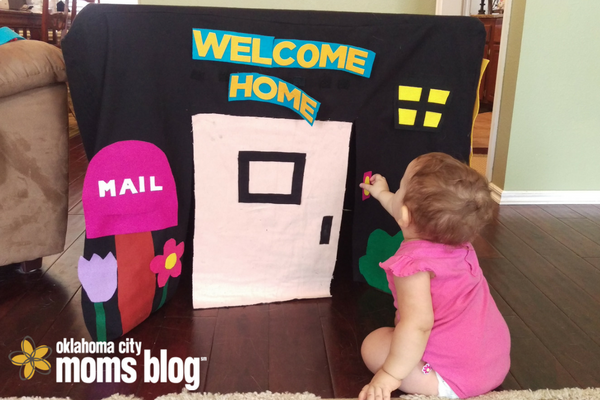
I cut my door and windows before I sewed all the panels together. I centered the door and cut the door flap 14 inches tall. Then one window I centered on a panel and cut is 14 long by 9 inches high. I cut the window 17 inches from the top of the panel. On another panel we made a “drive thru” window. This one was 12 inches long but 15 inches high. I cut it 5 inches from the top of the panel.
To add the decorations I wanted on there permanently I used a hot glue gun. I added color to the door and panels to the window. Plus a “menu board” that my sister will add Velcro strips to. We also found Velcro letters that she can change out words with throughout the year. You cal literally do whatever you want. I’ve seen people make an ice cream shop and had different ice cream listed. Its up to you.
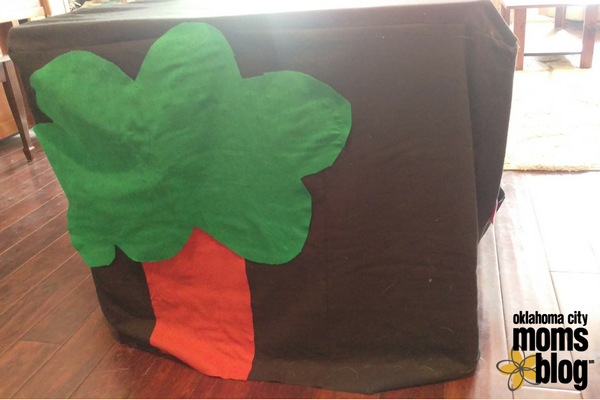
At Hancock we also found a lot of green and brown fabric. We got a yard of each and made a tree on the back side.
After that I sewed the four side panels together and then sewed on the top.
My sister bought felt squares and cut out the mailbox and the flowers. Above the door we also added Velcro lines so you could change the name of the playhouse through out the year.
We tested the playhouse on my daughter who loved it! I loved the idea of this playhouse because you can make it into whatever you kids would like. Plus you can fold it up and put it away when they are done. Think you are going to give this a shot? Let me know if I can help!